Behind the Scenes: Photo Editing

A couple of years ago we wrote a blog post just like this one that showcased some before & after photos
Since then we’ve developed our editing style quite a bit- we’ve added some new techniques to our arsenal- so we decided to write a new post that features our updated work!
Editing is a huge part of our process. We spend more time behind our computers editing than we do shooting, and definitely spend more time editing than we do in a meeting/talking with couples. We try our best to edit as naturally as possible- we aim to keep the organic beauty and integrity of the original photos to we take- but with some enhancements. We’re still against cheesy edits like selective colouring, sepia tones, or HDR, but we’ve recently taken a liking to editing a bit more dramatically. We certainly won’t edit a whole wedding with lots of contrast and sunset tones but on occasion, and when appropriate, we like to mix things up and play around by giving a more dramatic edit as an option for certain photos!
The rest of our editing we like to keep clean, simple, and minimalistic. We play around with highlights, contrast, colour balancing, colour toning, straightening up lines, and adding in some saturation. We’ve gotten to a point where we’ve created our own presets that we apply to all of our photos so we can be as consistent as possible, and then make adjustments on individual images as necessary.
Take a peek at some of our before/after examples below…
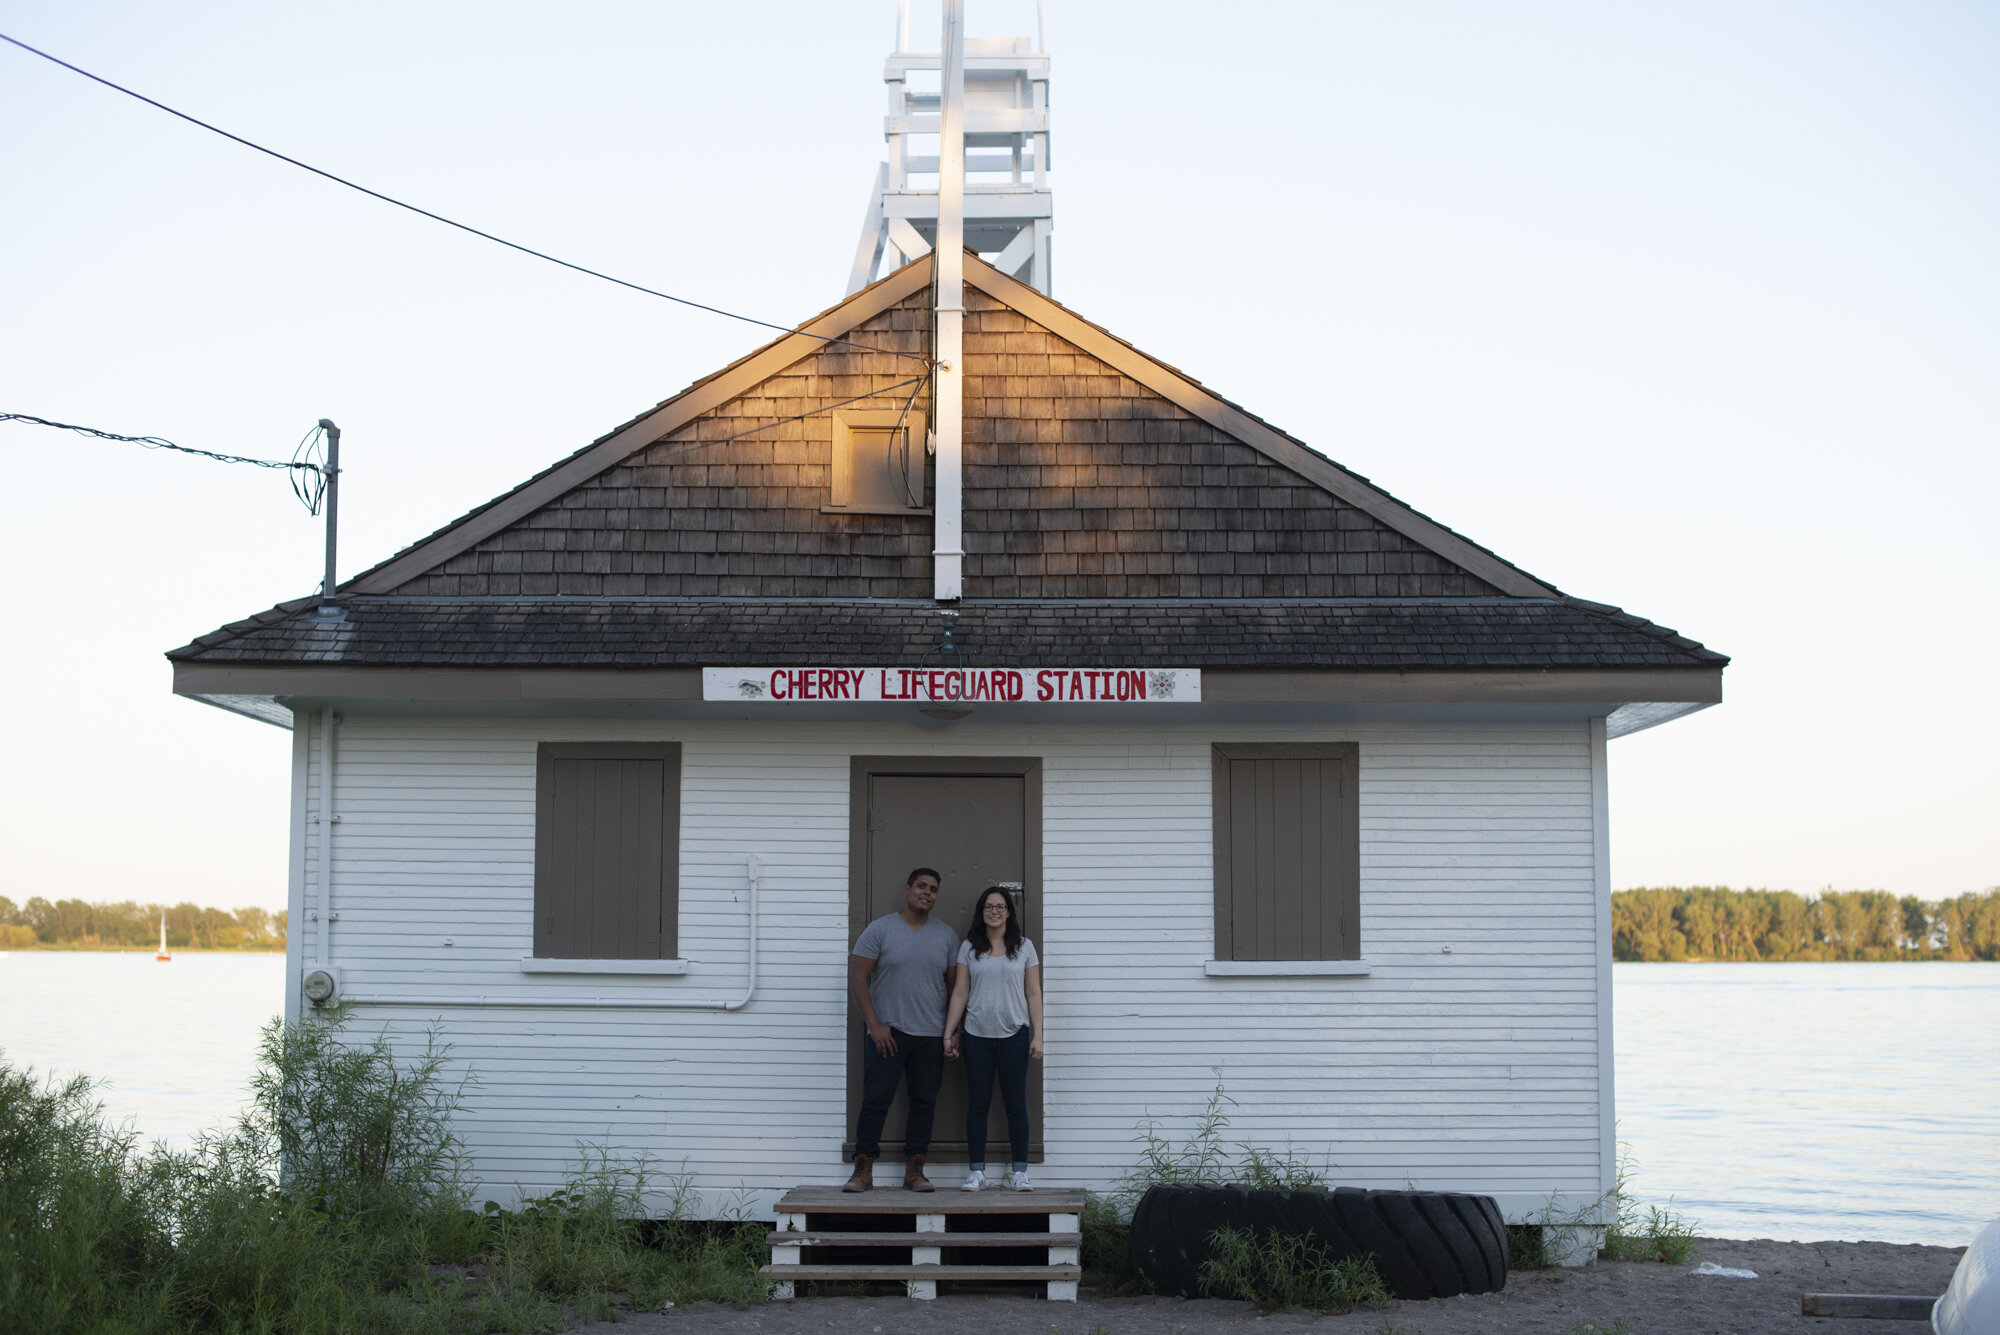
Before

After

Before

After

Before

After

Before

After

Before

After

Before

After

Before

After

Before

After

Before

After

Before

After

Before

After
Our editing process essentially goes like this:
Get home from a wedding, immediately back everything up
In the AM back everything up again onto a secondary hard drive or from desktop to hard drive
Import into Lightroom
Go through all of the photos one by one and pull the best of the best (called making selects)
Over the next few weeks edit all of the selects! This means applying our own presets to images (mainly for consistency but also for faster editing- imagine making all of those adjustments on every. single. photo.)
We rarely use Photoshop anymore but sometimes on a one off instance it’s needed (usually for removing things from the background and/or for more refined editing)
Once all of the photos are done we all take a pass through and make any additional adjustments as need be. This is usually done a few days to a week after everything’s completed- having some distance, and fresh eyes, with your work is quite important, especially after spending weeks staring at the same batch of photos day in and day out, so much so sometimes they just all look the same)
And voila! All of the photos are uploaded to a private online gallery and sent off to the couples!
Editing is such a huge part of our process and a big part of what makes our photos uniquely ours. This is the main reason why we- and other photographers- do not give away our RAW (unprocessed/unedited) files- it’s like giving you the ingredients to a recipe that we’ve spent years perfecting, but with no instructions or utensils to actually cook it.
Are there are any photos of ours that you’d be curious to see a before/after of? Share it with us on instagram!